
Setting up your account
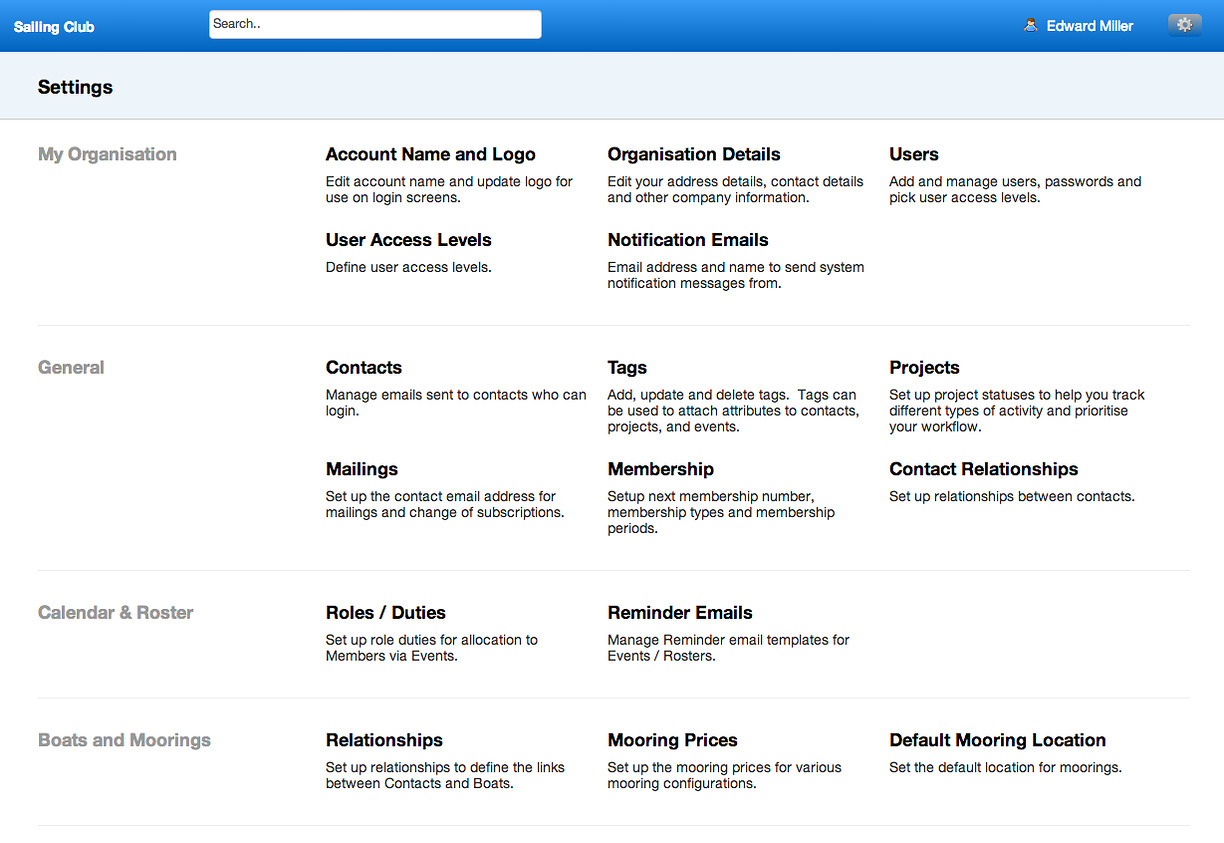
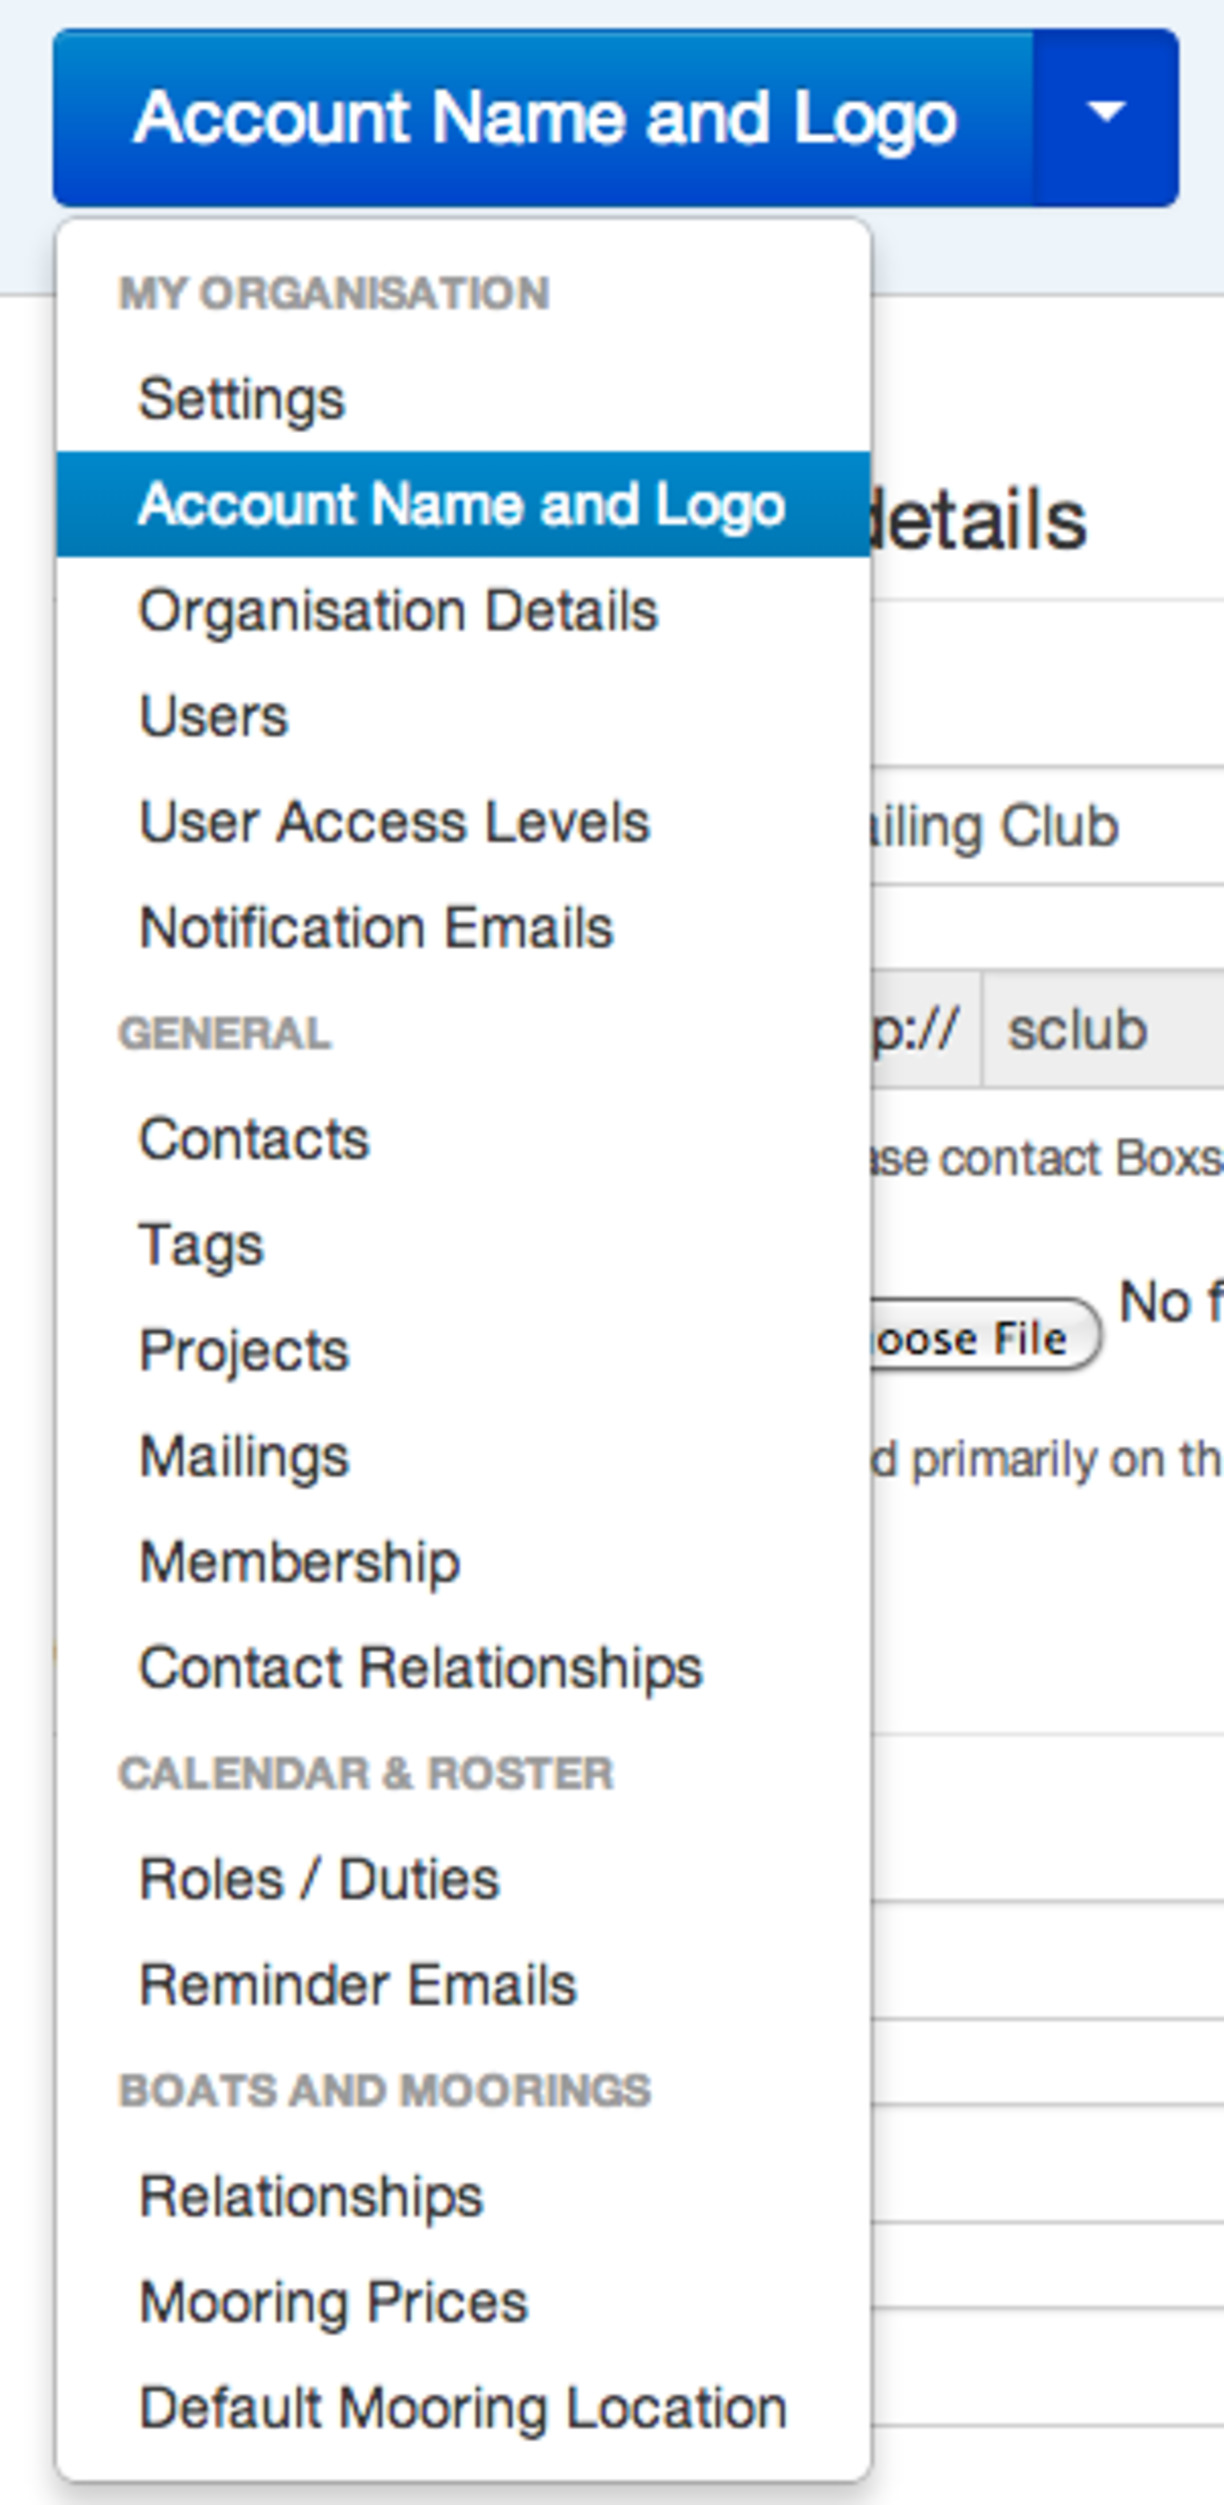
To access the account settings page click on the settings cog at the right hand end of the top bar.

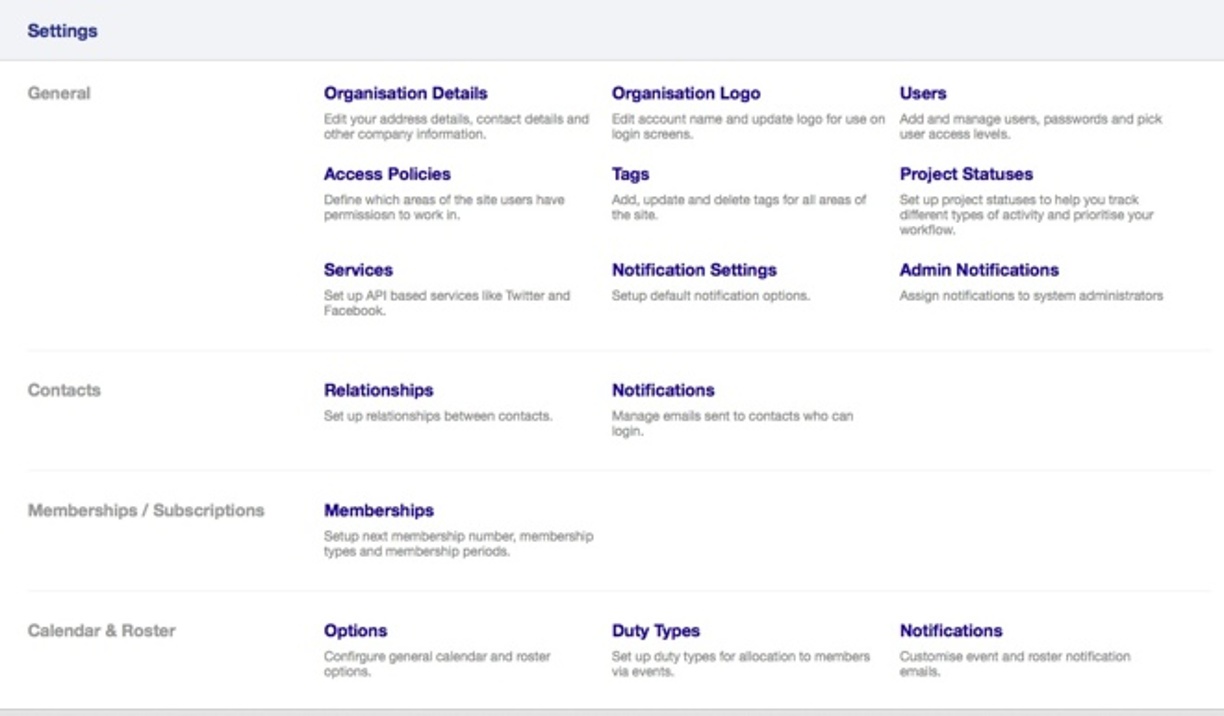
This takes you to the account settings page.

Organisation Details:
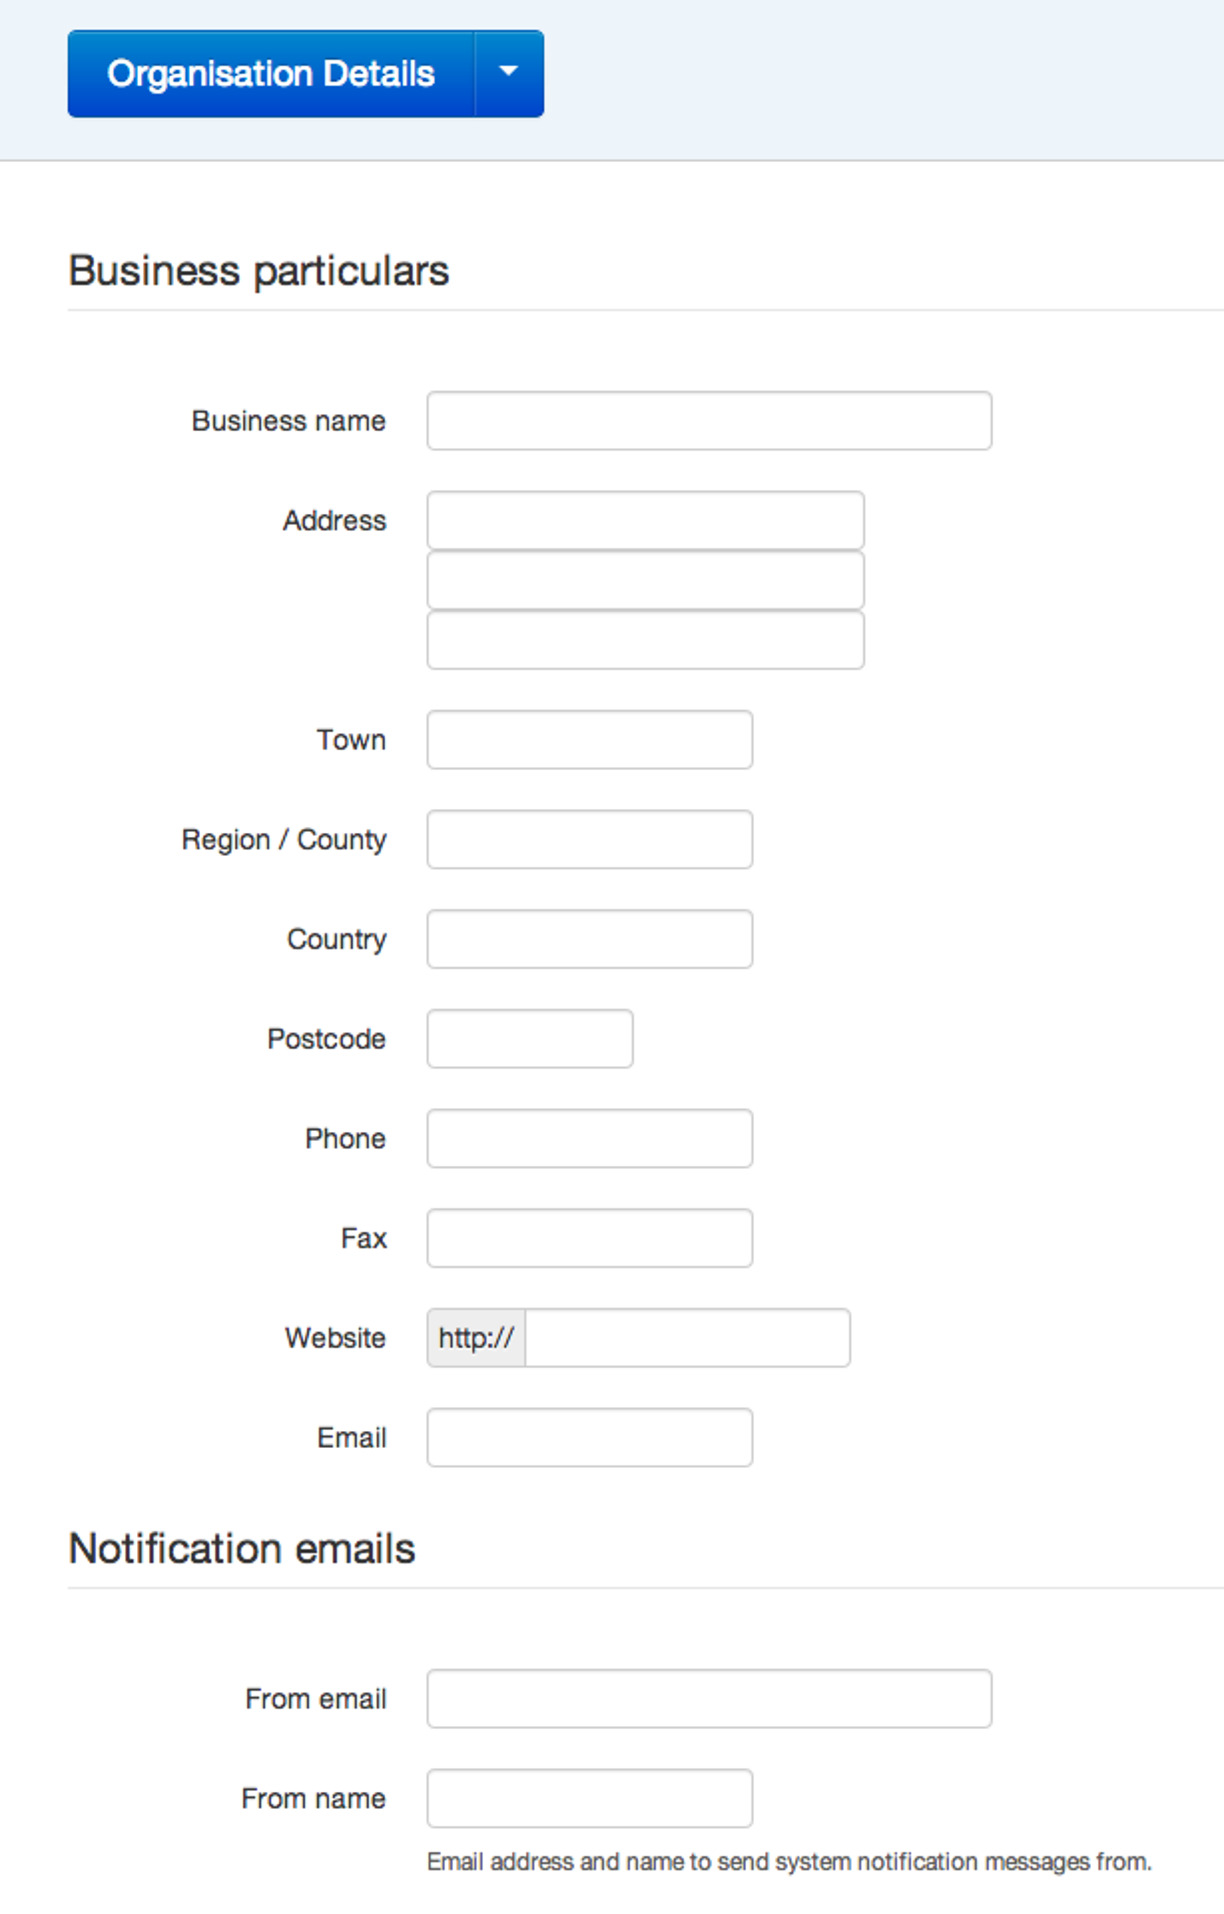
Click on Organisation Details to add or update the primary contact details for your organisation. This will be used on invoices, notifications and other templates.

Add organisation details and click 'update' at the foot.
Click 'settings' top left to return to the menu screen.
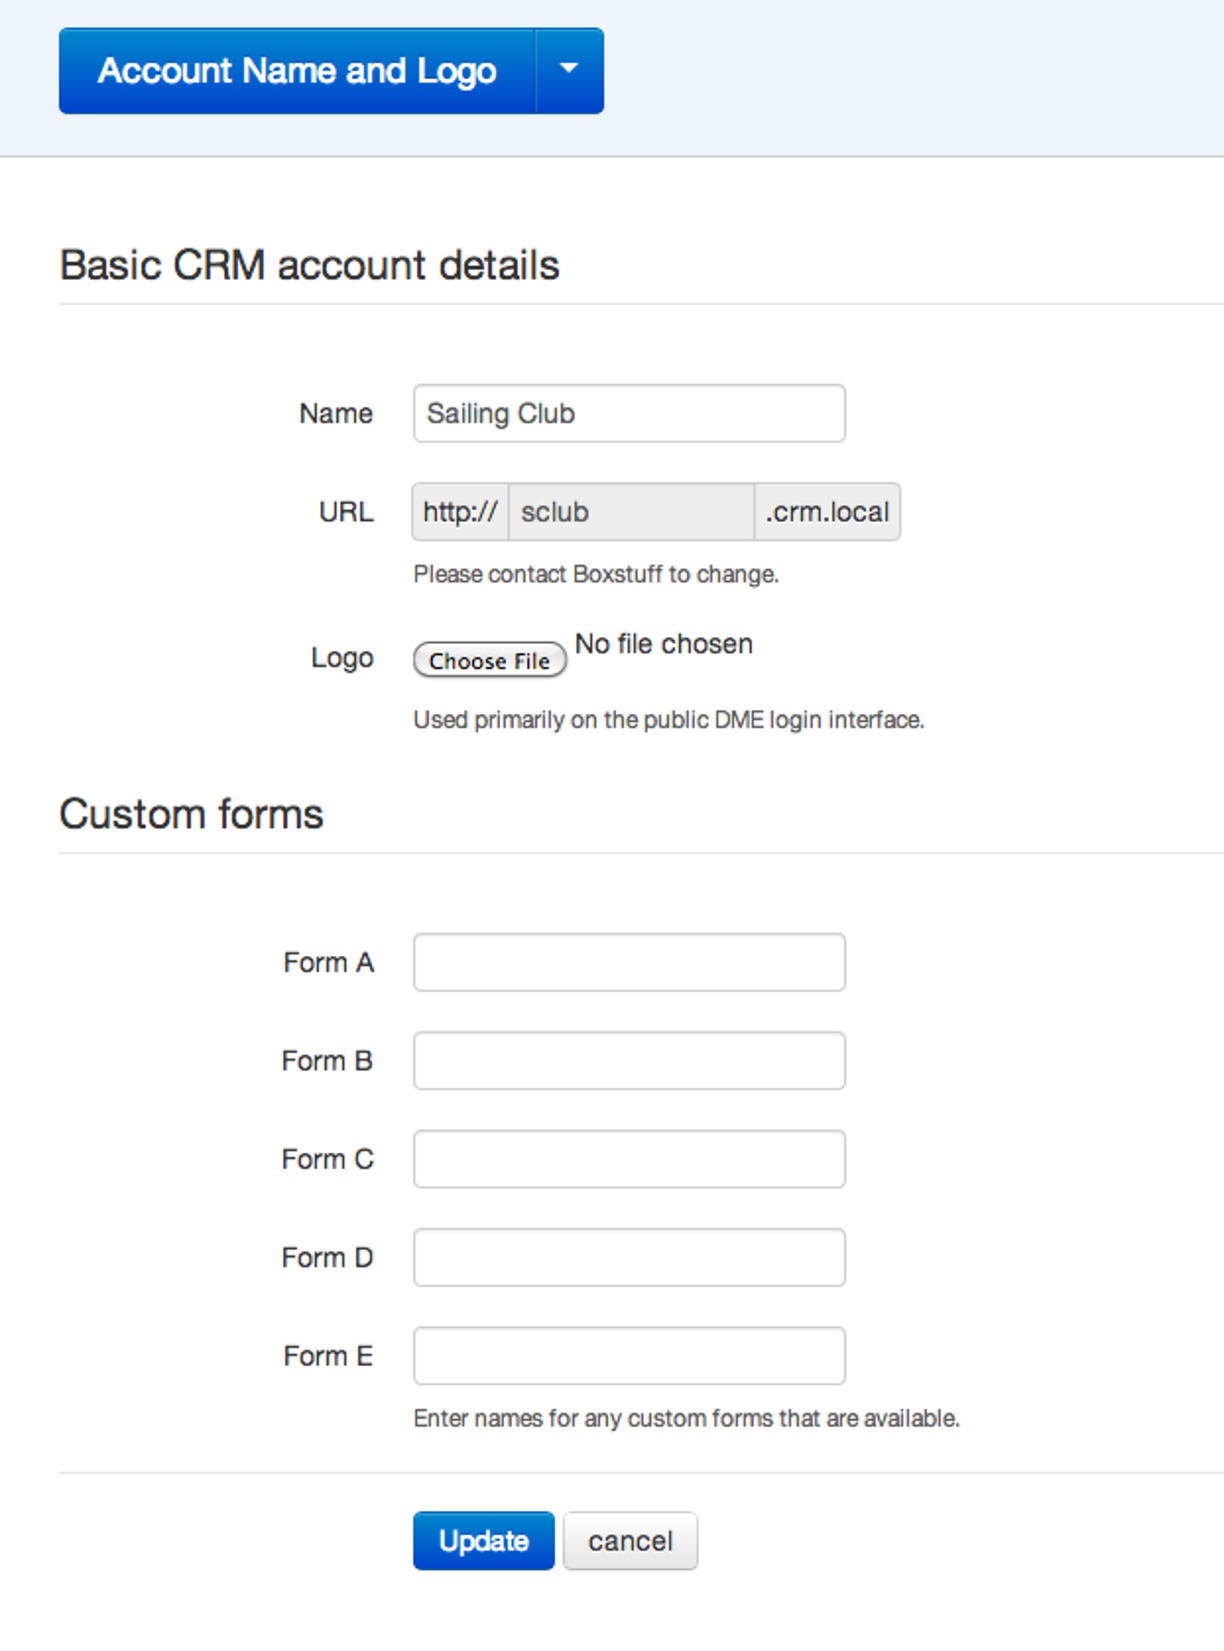
Organisation Logo:
- Click Organisation Logo on the menu screen.
- Add logo by clicking 'Choose File' and selecting your graphic from the Desktop or other folder.
- Your logo should be saved as a .jpg file @ 72dpi in RGB format. File size should be approx. 25 - 100kb.
- Click 'update' to save the information.


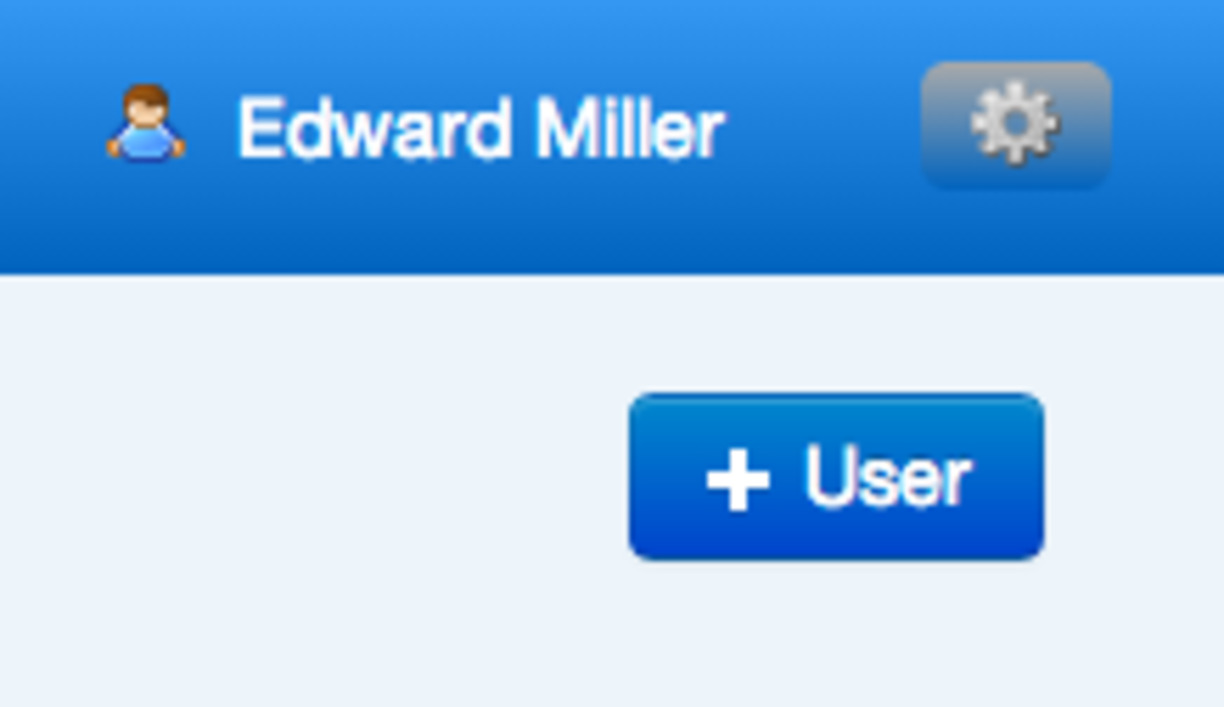
Users:
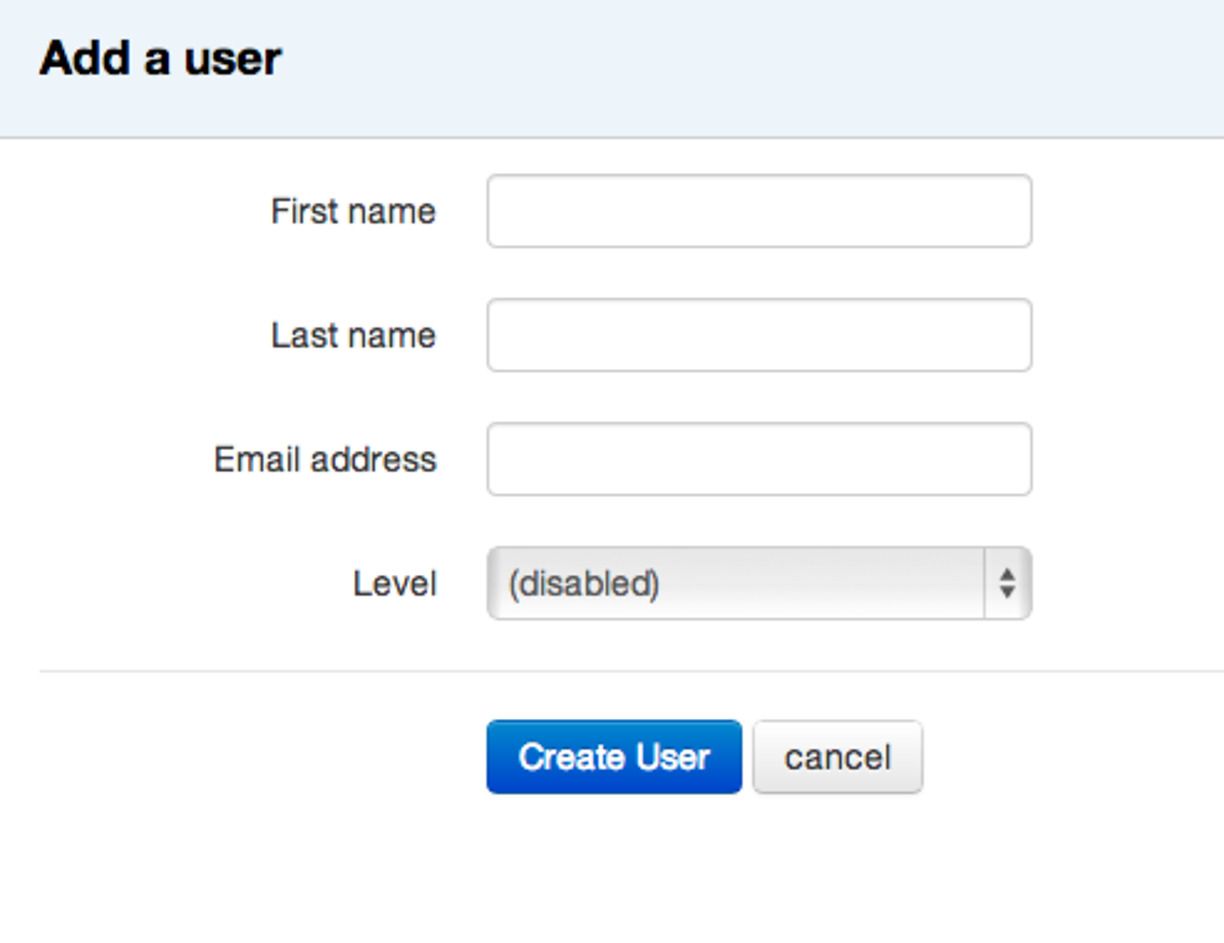
You can allocate different levels of access to the users of your CRM.

Fill in details and click 'create user'.

Access Policies:
This area allows you to define which users can access which parts of the site. Before enabling user policiesa suitable set of policies need to be defined and added. When user access policies are disabled (the defaultsetting) all users have unrestricted access to all enabled modules of the CRM. Once you have added and enabled user policies each user must be assigned an access policy or they will be unable to perform anyaction within the CRM.
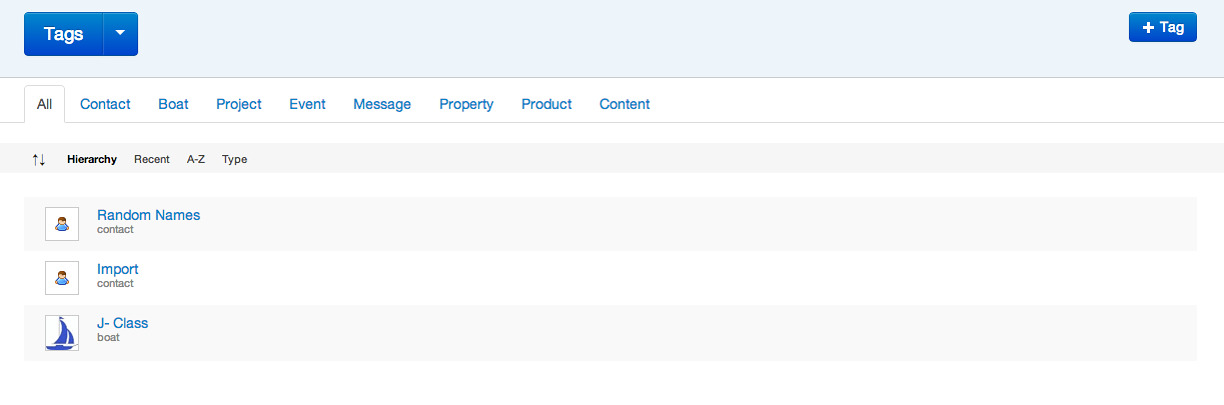
Tags:
See 'Adding/editing contacts' for how to use tags. Tags can be added in different parts of the CRM but theycan be updated, managed or deleted from this central area.
Services:
This area facilitates a connectivity between your website and your Twitter account. It will, for example, show your tweets on your website or link web content to your Twitter account. Contact Boxstuff to set up this part of your CRM.
Notification Settings:
This area allows you to enter a default from address and name for your emails. It would be used if emails were sent from the CRM without this information having already been added.
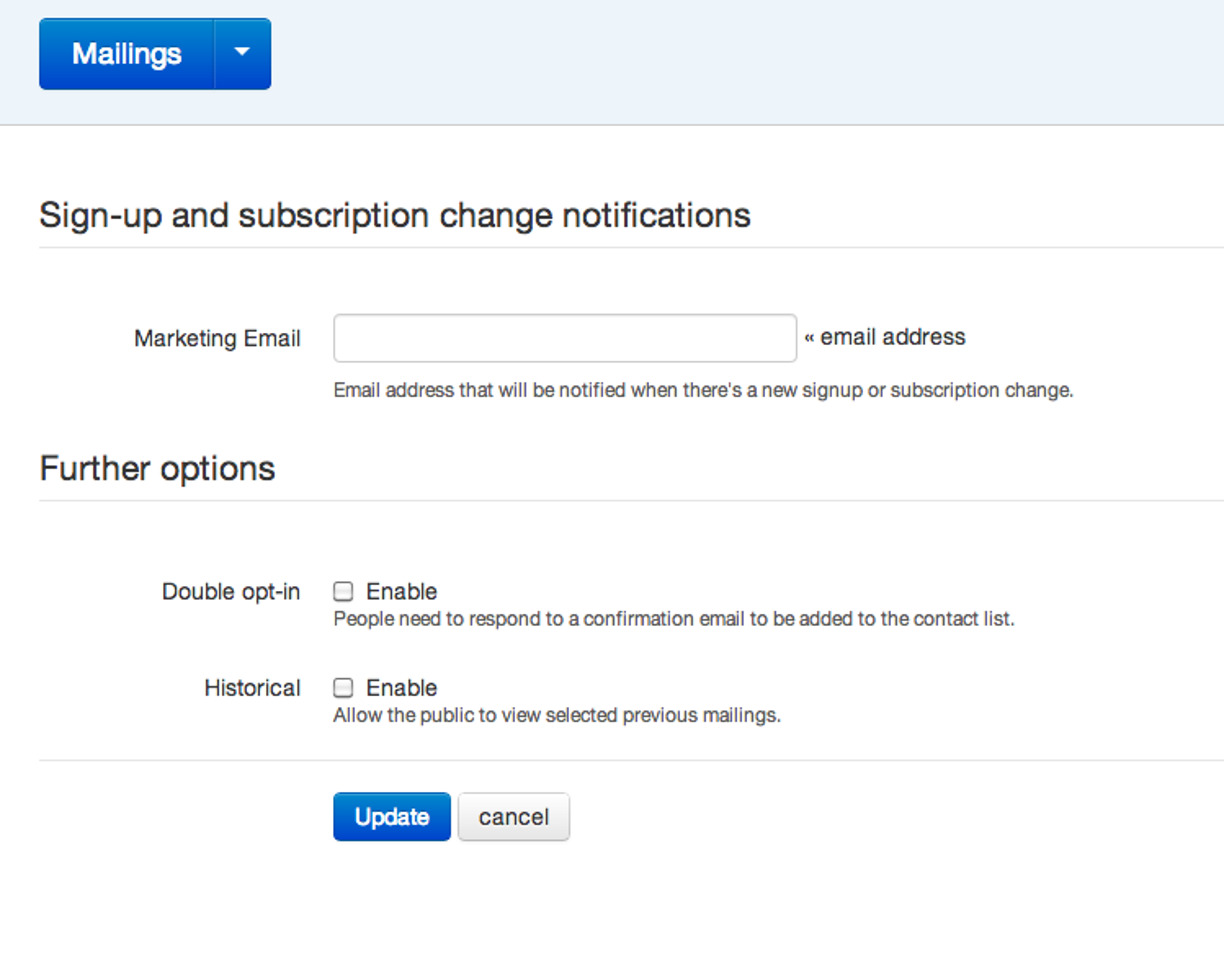
Contacts Subscriptions:
As part of the process of creating and sustaining strong customer relationships, good communication and response are essential.
Click on Subscriptions. Enter the email address(es) of individuals to be notified when a customers signs up or changes a subscription through your website. This notification allows you to respond in an appropriate and timely way.

Double opt in : Check the 'enable' box if you would like a confirmation email to be sent to someone signing up as a second line of security. This facility prevents someone signing up someone else to a contact list without their knowledge or permission.
Historical: Contact Boxstuff about this facility before enabling.
Contacts Relationships:
There may be occasions where the relationships between contacts can be useful to set up.


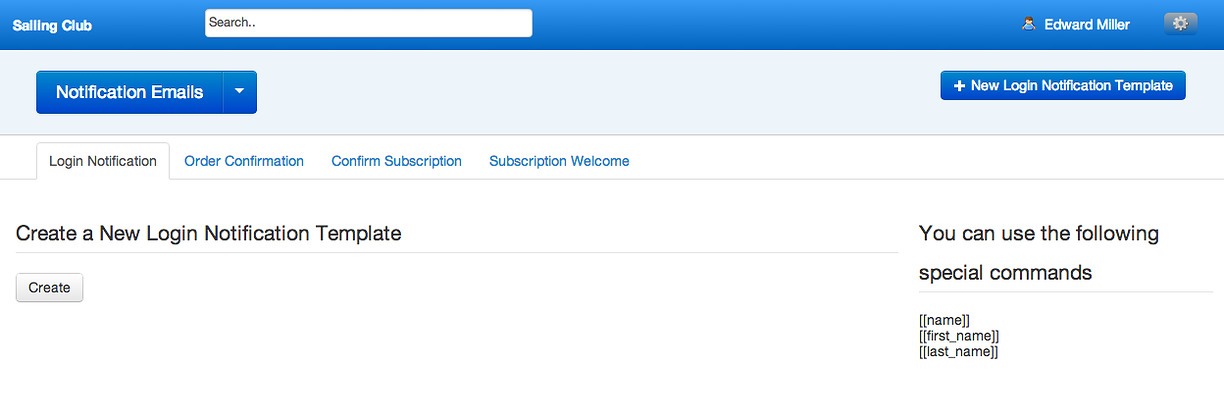
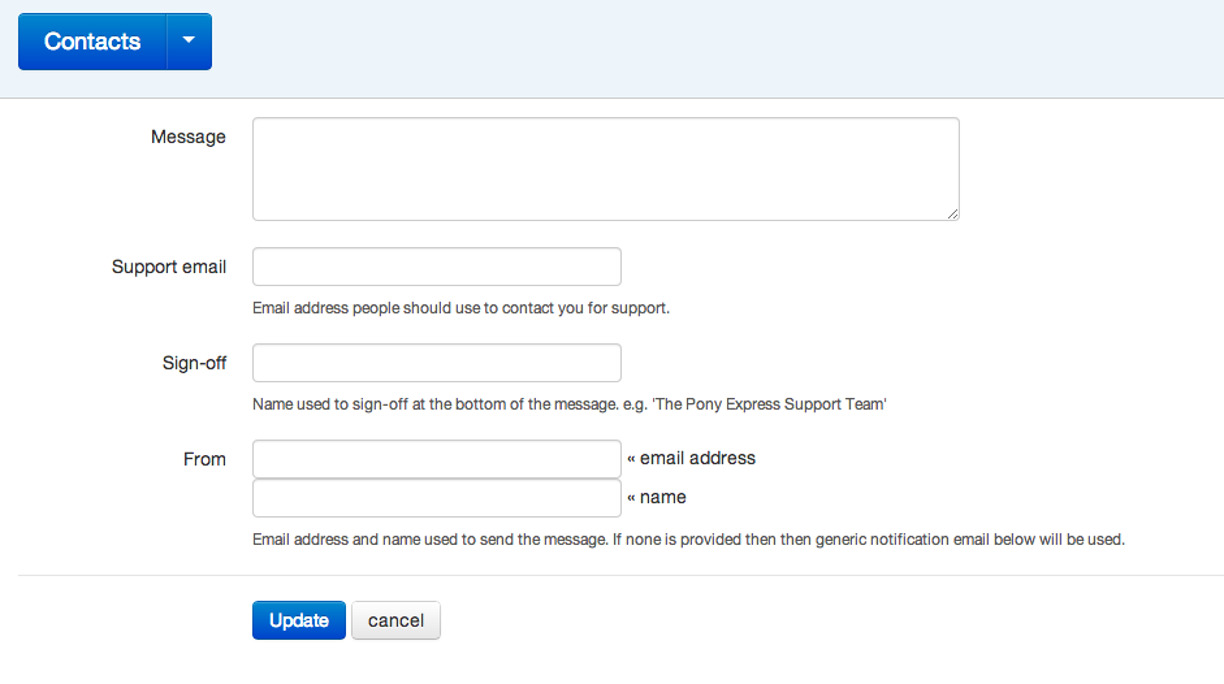
Contacts Notifications:
- Set up automatic messages to respond to specific customer actions.
- Enter the email subject, from name and from email address.
- Type the specific automatic message required and click 'save'.

Membership
There are certain areas of membership that must be set up before being able to use the membership system. Firstly there is the general set up of membership numbers and whether to allow multiple memberships.

The next areas to be set up are the types of membership and membership periods. Details of setting up the types and membership periods can be found in the membership section of the knowledge base.
Calendar & Roster
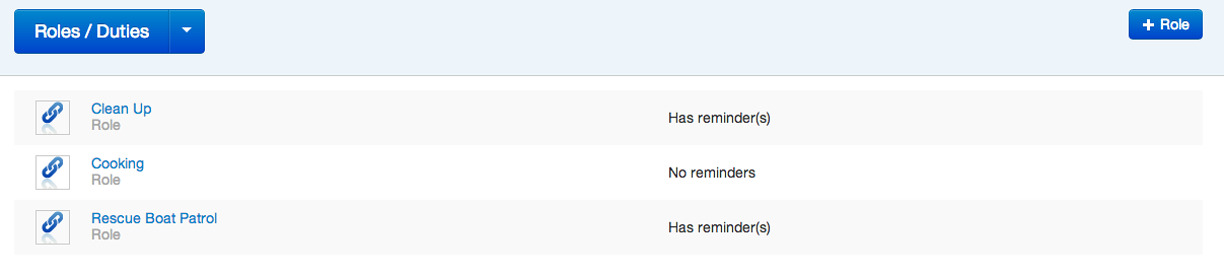
Roles / Duties
Roles / duties can be set up for the duty roster and used in accordance with calendar events. Further information regarding setting them up is detailed in the Setting Up Duty Types section of the knowledge-base.
)288957:original(
Reminder Emails
Templates for reminder emails can be set up here. More details are given in the Setting Up Roster Reminder Templates section of the knowledge-base.

Boats & Moorings
Relationships
Relationships can be set up between contacts and boats. More detail for setting up the relationships can be found at the beginning of the Adding A Boat section of the knowledge-base.

Mooring Prices
Prices can be allocated to moorings depending on the mooring properties and time periods used. These can be set up in this section, and more details can be found in the Setting Up Moorings section of the knowledge-base.

Default Mooring Location
The default location for the first mooring can be set up here.


Last updated 19:14 on 26 September 2025


